Have you ever thought about what’s in the soil your organic vegetables are grown in? If not, here’s a shocker: conventional soil treatments often pack synthetic chemicals that can find their way into your “organic” veggies and, ultimately, your skincare routine. Yeah, we know—gross. But don’t worry; by mastering chemical-free soil enrichment techniques, you can grow produce that truly nourishes both your body and skin.
In this article, we’ll walk through why chemical-free soil matters, how to enrich it naturally, tips for success, real-world examples, and frequently asked questions (because Google tells us they’re important). Ready to turn dirt into gold? Let’s dig in!
Table of Contents
- Why Does Chemical-Free Soil Matter?
- Your Step-by-Step Guide to Enriching Soil Naturally
- Tips & Best Practices
- Examples From the Field
- FAQs About Chemical-Free Soil Enrichment
Key Takeaways
- Chemical-free soil ensures healthier plants for organic beauty routines.
- Composting, crop rotation, and cover crops are simple yet powerful methods.
- Avoid shortcuts like overusing store-bought fertilizers—they harm long-term health.
- Real stories prove natural farming works wonders.
Why Does Chemical-Free Soil Matter?
Spoiler alert: Your face mask made from organic cucumbers isn’t as clean as you think if those cucumbers grew in chemically-tainted dirt. Many farmers rely on pesticides and fertilizers because they work fast, but these toxins linger in the ecosystem—and eventually show up on your plate and in your DIY skincare recipes.
Optimist You: “But I buy certified organic veggies!”
Grumpy You: “Yeah, until you realize ‘certified’ doesn’t always mean sans-residue.”
Here’s a painful truth: even well-intentioned organic labels won’t save you if the soil underneath is compromised. That’s where chemical-free soil enrichment steps in—it restores balance, protects biodiversity, and delivers nutrient-dense crops for all your green beauty needs.
Your Step-by-Step Guide to Enriching Soil Naturally
Step 1: Start Composting Like a Pro
This might sound like basic advice, but listen: properly balanced compost transforms your garden. I once dumped an entire bucket of coffee grounds onto my tomatoes thinking it was “free fertilizer.” Spoiler: my plants hated me. Moral? Balance nitrogen-rich greens (like food scraps) with carbon-heavy browns (like dried leaves).
Step 2: Rotate Crops Like a Ninja
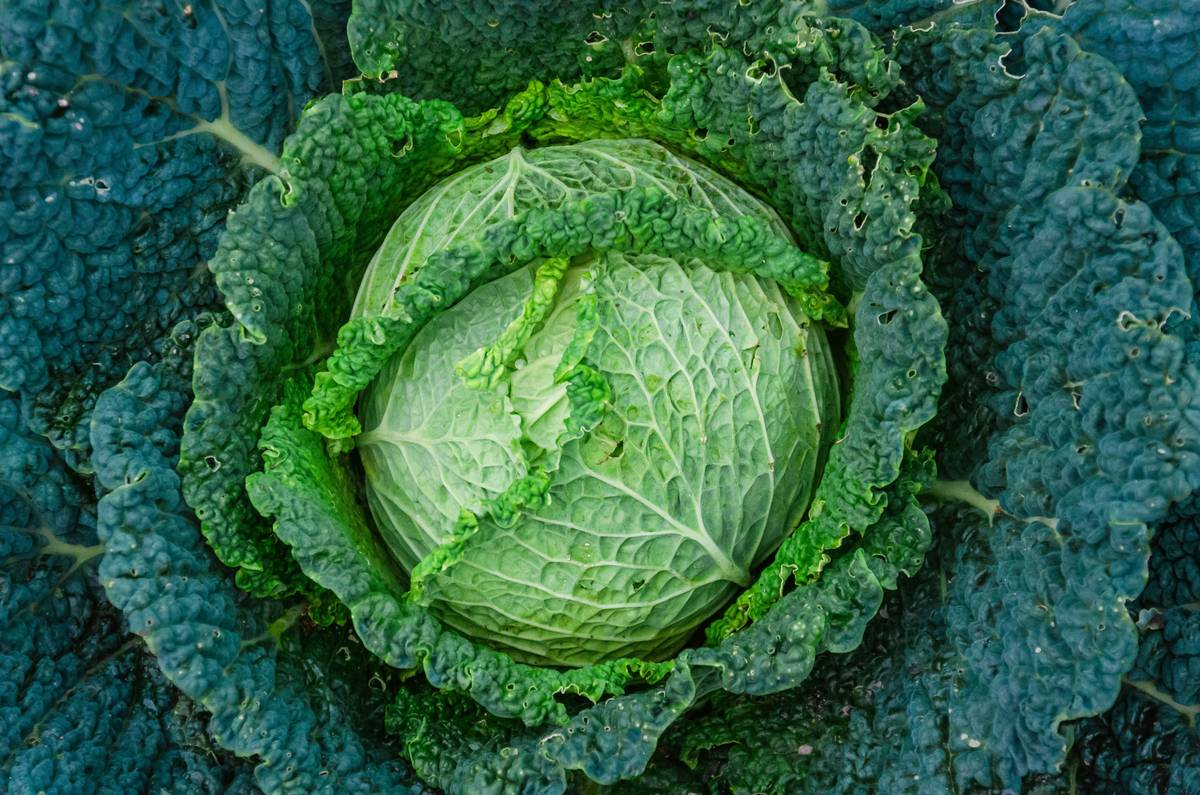
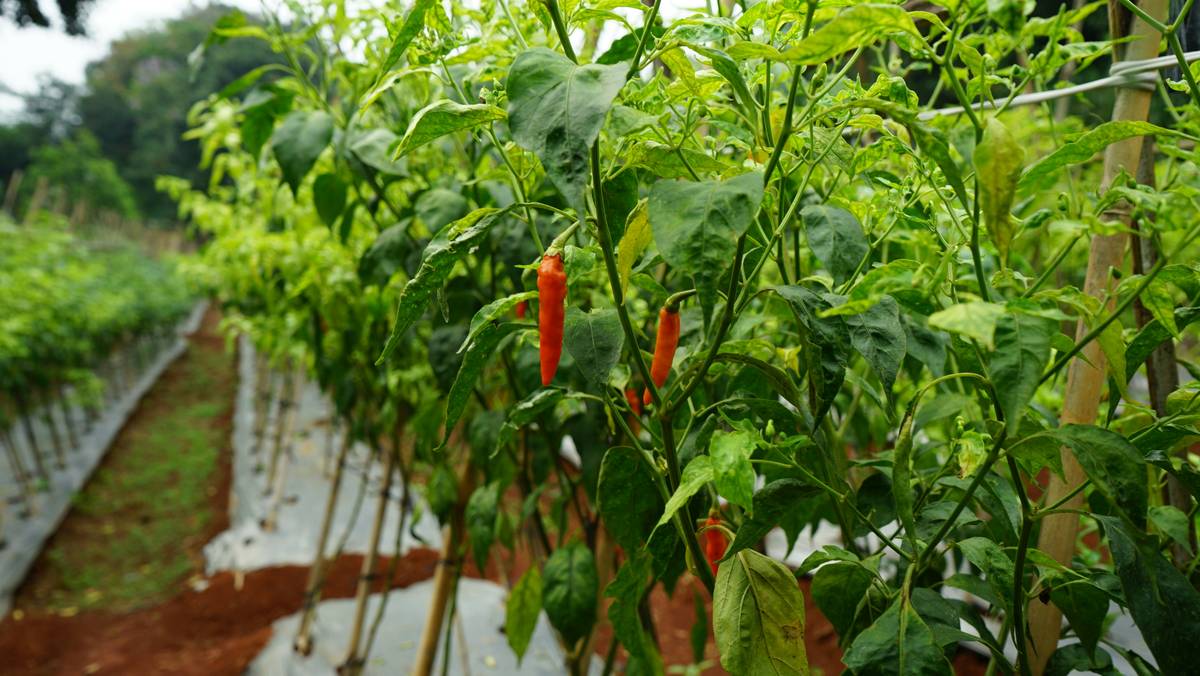
Let’s talk confessions: when I first started gardening, I planted kale in the same spot every year. Rookie move. Monocropping depletes specific nutrients faster than binge-watching Netflix drains your energy. Crop rotation not only prevents pests but also keeps soils jam-packed with diverse minerals.
Step 3: Cover Crops Are Chefs Kiss
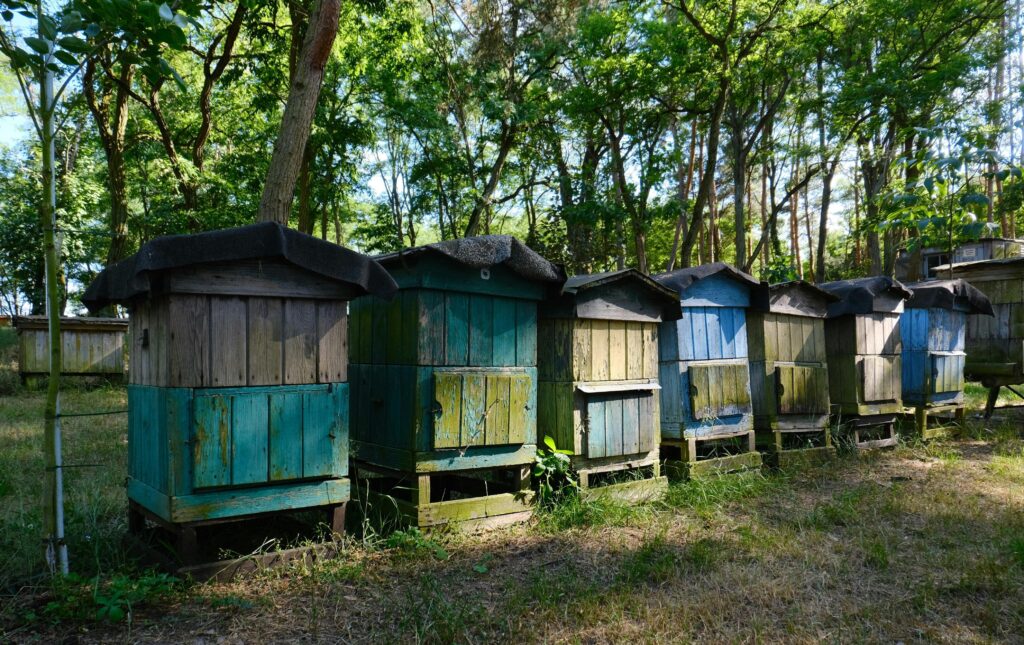
Cover crops—a farmer’s secret weapon—are plants grown specifically to improve soil quality. Clover, rye, and vetch pull double duty by fixing nitrogen levels and preventing erosion. Plus, flipping them back into the earth adds lush organic matter without needing fancy tools.
Tips & Best Practices
- Mix It Up: Use multiple tactics together for maximum impact.
- Keep It Local: Source amendments like manure locally—they match native microbes better.
- No Quick Fixes: Avoid miracle cures like synthetic additives unless absolutely necessary.
Pro Tip Rant: Ughhh, nothing grinds my gears more than seeing influencers rave about $50 bags of “magic dirt enhancers” online. Guys, worms do it FREE.
Examples From the Field
Take Sarah Thompson, owner of GreenThumb Acres, who switched her farm to 100% chemical-free practices after noticing declining yields. Within two years, she saw increased plant resilience AND happier customers buying her organic zucchini blossom masks (yes, really).
Or consider Joe Martinez, whose urban rooftop garden produces spinach so iron-rich local chefs beg for supply. His secret? He built his soil entirely from repurposed kitchen waste and community-sourced compost.
FAQs About Chemical-Free Soil Enrichment
Q: Is chemical-free soil expensive to maintain?
Absolutely not! Most methods cost little more than elbow grease and some planning ahead. Compost and cover crops cost pennies compared to commercial options.
Q: How long does it take to see results?
Results vary based on initial soil condition, but expect noticeable improvements within 6 months to a year.
Q: Can beginners handle this process?
You betcha! Just start small—one raised bed or container—and scale up as confidence grows.
Conclusion
By now, you should have a solid understanding of how chemical-free soil enrichment benefits both your plate and your beauty routine. Whether you’re whipping up a hydrating avocado mask or sipping cucumber water, knowing your ingredients started in toxin-free soil makes everything taste (and feel) sweeter.
Remember: progress comes from patience—and maybe a dash of humor along the way. Now go forth and nurture your land like the goddess/god of green beauty you were born to be!
Haiku time:
Earth gives life anew,
Feed it good things back again,
Skin glows, heart smiles.